I started by developing some photographs that I hadn't. Here I followed my previous timings of 18 seconds for the outside photographs on f16 and 5 on filter because a test strip wouldn't have enough space to do enough exposures.
It was over exposed so here I exposed it for 13 seconds instead which worked perfectly.This one had less light so it wasn't surprising that 18 seconds over exposed it.
Here is 11 seconds exposure, still f16 and 5 on the filter.
This one was 13 seconds, f16 and contrast 4 because they black could look slightly over exposed if it was too contrasted against the white background. Playful, childlike composition that I liked because of the profession of it and how the background calmly sits.
This one was over exposed at 15 seconds.
This one worked much better at 12 and filter 4.Same timing for this one, it reminded me of a catalogue photograph. I think I could have put the light to the side instead of face on to soften the shadow on the whit background.
I liked the lighting here, it looked quite spooky and as if she is staring right into us with only a spotlight to light up her face. Again exposure 13, contrast 4 and f16.
I exposed this one for a second less than the last, it lessened the contrast so that it wasn't so harsh but I preferred the first one because this harshness matched the evil/spooky appearance.
I liked this composition, very relaxed, again 13 seconds was slightly to harsh for the contrast on the shadow. The background lines also put me off it quite a bit.
Here I exposed it for 11 seconds instead and rather than putting in the developer straight away after being exposed, I put the safety light on the exposed paper and using a paint brush, only developed her figure rather than developing the lines in the background, it gave it a more professional look. I then put it in the stop and fix as normal.
Exposure of 18 seconds here, the light on the hands needed burning during this time because it was much lighter than the other parts of the negative.
Here I painted the developer on like I did with her figure but instead I gave it a washed and watery effect, the jagged edges gave it a more interesting and enhanced look rather than normal straight edges. It matched the idea of smoke coming out.I then tried double exposure, I estimated 30 seconds and this was much too underexposed, I put the contrast back up to 5 so that they didn't appear dull, still f16 to allow longer exposure time for more contrast.
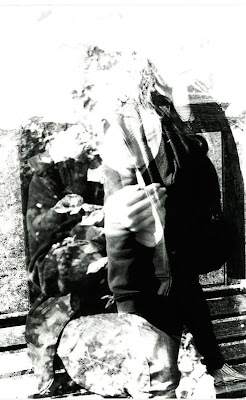
I tried the double exposure again, I estimated this as 55 (again too high to do a test strip), it was overexposed and I couldn't see her face through her standing.
I tried 45 here and still thought that it was slightly too dark and her face could do with appearing more in this.
This was exposed for 40 seconds and I was happy with the effect, although the far left side could have been dodged slightly, I wasn't that keen on the compositions of the photographs together so I decided to try another 2 instead.
This gave me a good effect, the leaves came through on her skin, emphasising on the nature elements of the photograph. I estimated 50 seconds for this one because the photograph of her standing by the trees had a higher exposure time originally than the others.
I then tried 60 because I still thought that the face didn't come through enough and the picture needed to be more exposed for more contrast.Here I put it up to 70 and using a cut out on black card I bored the top part of the photograph to allow her face to come through more.
I still thought it could do with even more contrast and exposure so I put the timing up to 80 (all f16 and filter 5 still), I also burned the top part at various times for a couple seconds, and at one point allowed 10 seconds for just this part to expose.
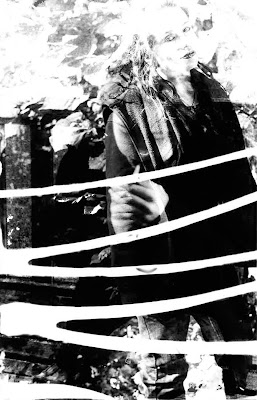
I did the same timing as before eon the same double exposure and tried photo batik on it. This worked well but I tried again so that I didn't put the liquid on the top half of the print because fit was naturally unexposed. When taking it out of the developer to put in the stop I scratched the the liquid to try and remove it and it developed my scratch more giving me a harsh effect and a variation in tone because the scratches developing time was less than the rest of the photograph.
I did photo batik again and avoided erasing the top part of the photograph, I preferred the effect without the scratches so I kept that in mind here.
I kept the same negative in the negative carrier and same exposure time ect. but this time I laid transparent objects on top to see it that would give an interesting effect. I didn't like it, the light reflected from the glass and over exposed the rest of my print so it looked like a basic photogram rather than a layered up effect.
Here was a triple exposure. I put the timer up to 90 because I knew this would take a long time. Still f16 and filter 5.
The compositions that I made in result were unclear but I liked how the photographs war layered up. I put this one up to 99 (the timers highest) and then exposed it more another 10 whiles burning the face area.I exposed this for 100 seconds and burned the face again, this one was too over exposed and I preferred my second attempt because fit allowed the layers to come through rather than develop as blackness.


No comments:
Post a Comment